
Interstellar space
The interstellar drive, navigation records and places beyond the Solar System.
Interstellar space means places beyond the Solar System. A starship with an interstellar drive
( Interstellar Drive I) jumps there, and the course is plotted from a place’s navigation record.
The drive and the record
| Tier | Range | Where |
|---|---|---|
| I “Threshold” | up to 1,500 light-years | the Pleiades, the Orion Nursery, the Helix, Tabby’s Swarm |
| II “Pulsar” | up to 8,000 | the Crab Nebula, Cygnus X-1 |
| III “Quasar” | up to 30,000 | Vulpecula (the magnetar), Sagittarius A* |
The drive goes into a slot of a class A starship or higher. A jump costs fuel and stardust (free in creative), and the course is plotted on the Interstellar map (the map key, M, in the pilot’s seat); then you aim the nose at the course mark and hold the jump key for three seconds. Each place has its own record: a cluster photographed with any star telescope with an imaging plate in your inventory (the Pleiades — the first place, “behind the back of Taurus”), a nebula photographed with the astrograph (the Helix, Orion), a pulsar’s radio recording on the radio telescope (the Crab), a plate image of a body in the graviscope (Cygnus X-1), three bursts of a series of the repeating source caught with the dish on Vulpecula (the magnetar), the light curve of Tabby’s Star in the graviscope with a coronagraph (Tabby’s Swarm). Home — by the same jump: in a place the course is home by default, no map needed. Not enough fuel or stardust for the way back — the map warns beforehand, and the emergency beacon takes you home for 32 stardust.
After a jump the drive recharges for two minutes. The recharge belongs to the ship, and leaving the game does not shorten it: the timer runs only while world time runs, so after you rejoin — or after the server restarts — the drive still has as long left to cool as it had.
A higher stage is rebuilt from the one before (journal stages “The Pulsar Drive” and “The Quasar Drive”): the Pulsar takes the Threshold drive, the pulsar navigator from the radio telescope, two star seeds from the Orion Nursery and a ring spark; the Quasar takes the Pulsar drive, a quasar reference (three records of the quasar on three different days), a ring spark, four neutron dust from the filament wisps of the Crab and two disk plasma — from Planet Nine or Cygnus X-1.
What a jump costs
Buckets of fuel for a jump from home (and as much for the way back), plus 16 stardust. A higher drive is thriftier, and Drive III has a ceiling: the price never rises above 5.8 buckets. The smallest starship tank holds 6 (the Swift), so a full tank reaches any Drive III place one way; there and back takes a 12-bucket tank, canisters in the hold, or the beacon. On Drive I the Swift reaches only the Pleiades: the Helix, Orion and Tabby cost more than six buckets — take a ship with a tank of eight or more, or fit a tank module (nine on the Swift). The map says so: “Tank too small”.
| Place | Light-years | I “Threshold” | II “Pulsar” | III “Quasar” |
|---|---|---|---|---|
| The Pleiades | 444 | 5.8 | 4.6 | 3.7 |
| The Helix | 650 | 6.3 | 5.0 | 3.9 |
| The Orion Nursery | 1,344 | 7.5 | 6.0 | 4.5 |
| Tabby’s Swarm | 1,470 | 7.7 | 6.1 | 4.6 |
| The Crab Nebula | 6,500 | — | 9.8 | 5.6 |
| Cygnus X-1 | 7,200 | — | 10.2 | 5.6 |
| Sagittarius A* | 26,000 | — | — | 5.8 |
| Vulpecula (the magnetar) | 30,000 | — | — | 5.8 |
Everything in a place that looks like a body (a star, a giant, a pulsar, a dwarf) can be flown to; what stops you near it is the heat, not the edge of the place. Beyond the edge of a place there is only a distant backdrop.
The jump
An interstellar jump is a scene of its own: ten seconds of flight and about three more on arrival.
- Run-up — the stars draw together toward the point of the course and stretch into rays: blue ahead, orange and red toward the edges (Doppler shift). The ship shakes, and the instruments go dark one by one — the power goes to the drive — while the uplink counts down to the breakthrough.
- Breakthrough — a flash and a blow, and the camera is already outside the Galaxy: the spiral of the Milky Way, a tiny mark for the Sun and the arc of your path to the place, in its true direction and distance. Then comes the dive to the destination.
- Arrival — the white opens like a window onto the sky of the place, its nebula rises to meet you, the engines fall silent, the instruments light up and the title of the place appears.
On the way home the arc leads to the Sun. A jump by emergency beacon is ragged: no Galaxy, static on the channel and an alarm. Passengers see the same scene as the pilot; from outside only the charge and the flash of departure are visible. Moving or taking a hit cuts the scene short — an ordinary tunnel follows, and the jump itself takes just as long. How rich the scene is depends on “Mod graphics” in the settings.
The Helix
An “eye” nebula: a ring of cometary knots with tails pointing outwards, a white dwarf in the middle. The dwarf burns and
pulls you in; you can hide from the heat in the shadow of a knot. The lattice in the dwarf’s cracks yields
 White Dwarf Crystal.
The Crab Nebula
A cage of glowing filaments around a pulsar. The pulsar’s two beams sweep a band across its axis — one turn in 8
seconds, the rhythm audible as clicks; a beam hits the hull and pushes the ship. Inside the band of the beams there are
four vantage points: capture them with a scanner pulse. Neutron knots in the filaments give  Neutron Dust.
The tier II drive needed here is built with the radio telescope’s pulsar navigator (
 Pulsar Navigator).
Cygnus X-1
A stellar-mass black hole next to a blue supergiant: a stream of gas from the giant, a disc, steady jets. The instruments lead you through nine steps to the horizon:
- plasma clumps at the rim of the disc (232–322 blocks) — with the mining beam, they give
 Disk Plasma;
- the time well 55–130 blocks above or below the disc: on your stations with a Chrono Cell time runs 15–60 times faster (no more than 8 hours per visit);
- the supergiant’s heat; a slingshot past the hole — a burst of speed and jump charge;
- a Hawking spark from the edge of the disc; the Penrose process — dropping mass into the ergosphere;
- riding the jet: the sheath carries and throws the ship, the core burns;
- the dive beyond the horizon — only with a Hawking spark aboard.
Dangers: tides closer than 300 blocks, heat in the plane of the disc, the core of the jets.
The Chrono Cell
A module of your own station ( Module Kit: Chrono Cell) made of disc plasma, white dwarf crystals and
neutron dust. While you are in the Cygnus well, the station’s work moves forward by itself.
Tabby’s Swarm
A star in Cygnus that dims for no reason. With a coronagraph ( Coronagraph) in your inventory the graviscope shows
its light: on one or two nights out of five, in the middle of the night, it sinks by a fifth. Press the star at the bottom of
a dip — three dips on three nights make a light curve, and the curve is a navigation record.
Thousands of light-catching panels hang around the star, half of them eaten through: the black holes in them hold no light,
and Shades of Hunger come out of the black. Concave panels — “lupas” — gather the starlight into a focus that burns six
seconds out of ten. The star is a body: closer in it is hot, and right at it the photosphere burns the hull. The amber node
of a whole panel (iron pickaxe) gives a  Swarm Panel: a second way to the station light-catcher.
The Swarm Archive
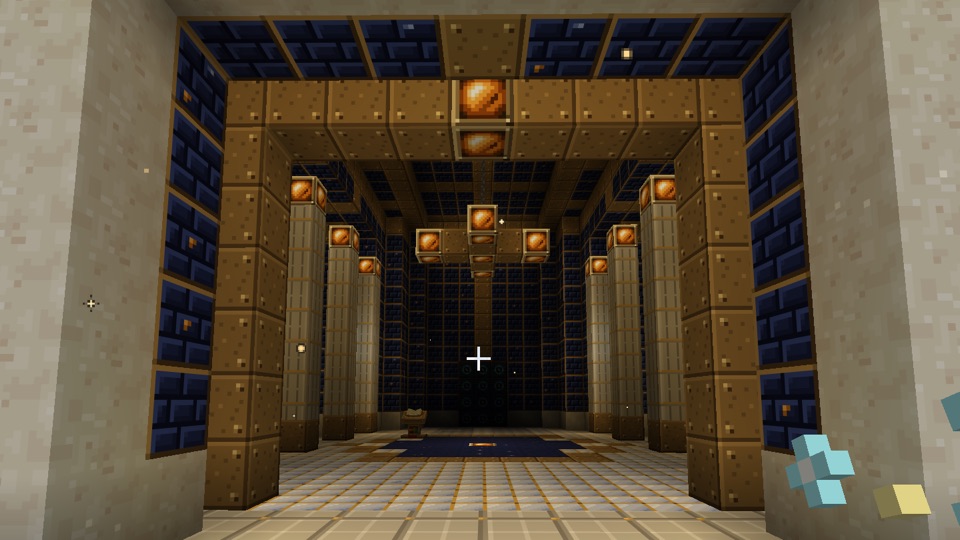
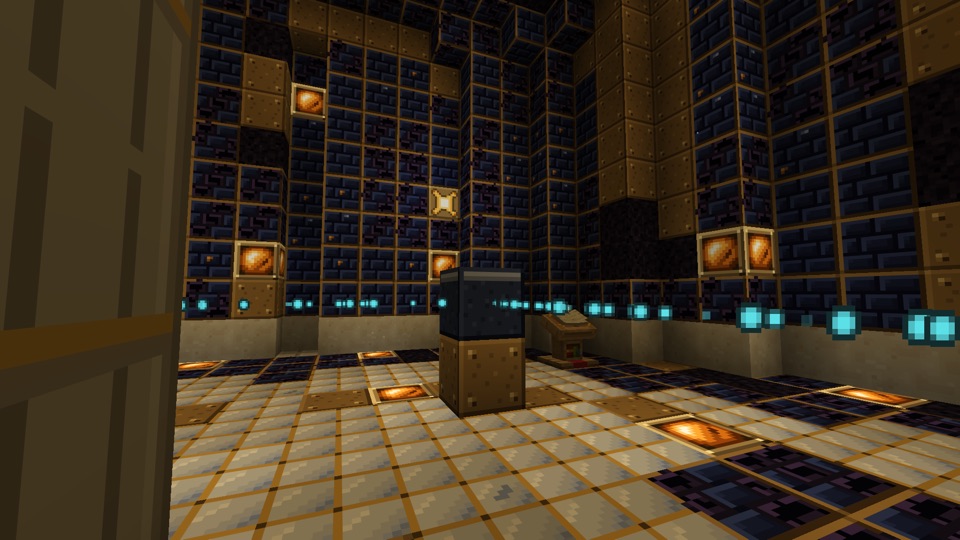
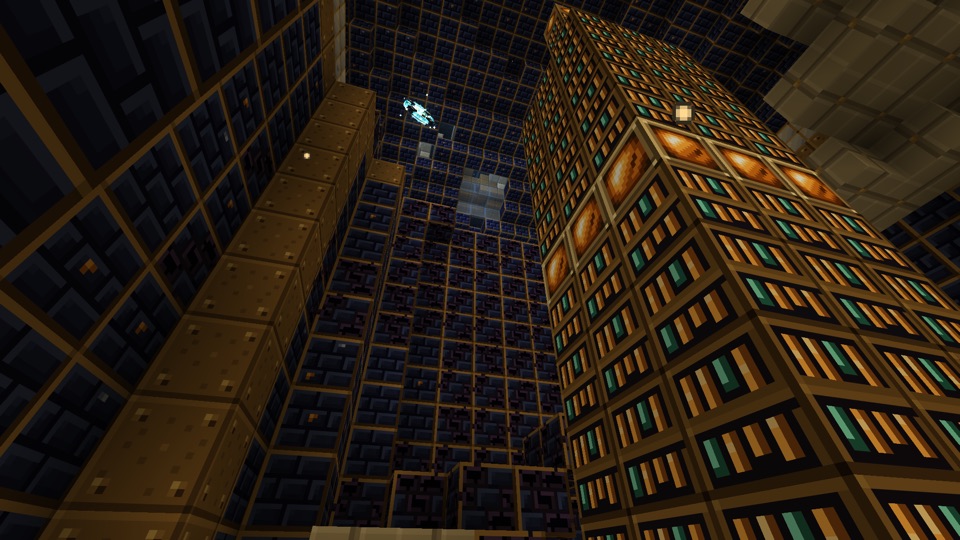
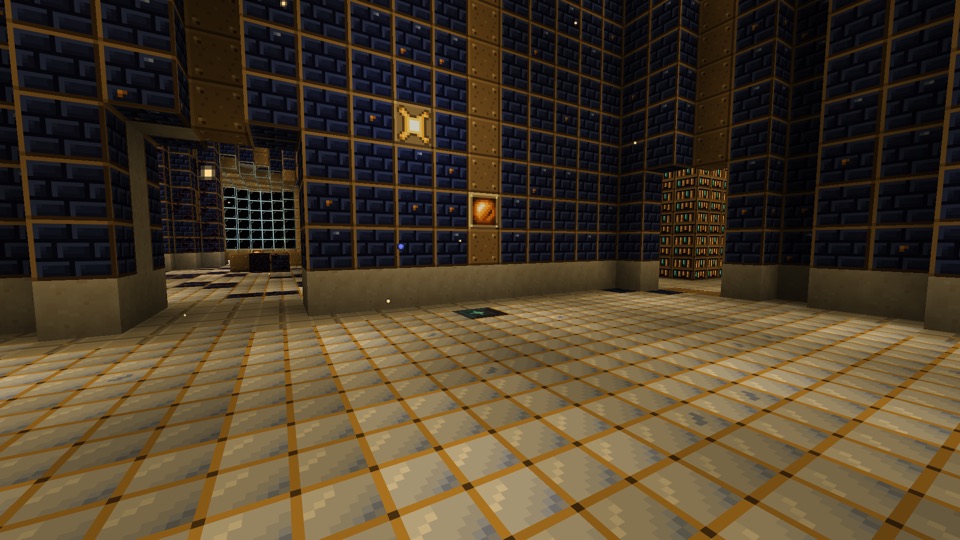
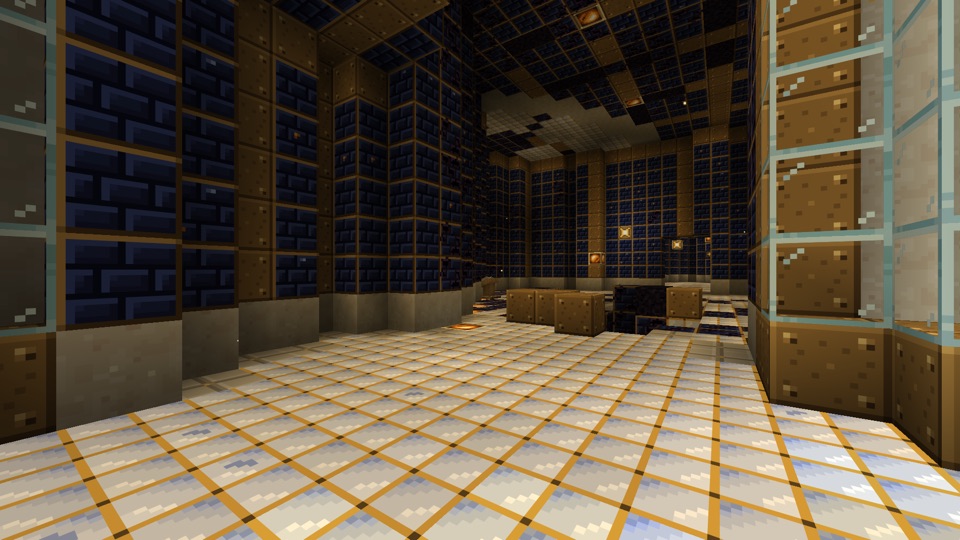
A vault in the shade of the greatest panel, the shield: three tiers of halls around a well of light. The walls are dark cell
plating in bronze ( Swarm Plating), the floors are mirror tiles (
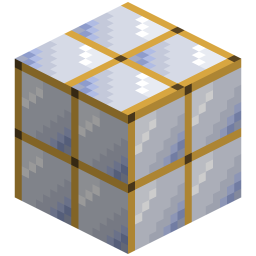 Mirror Tiles), and amber
nodes glow under the vaults (
 Amber Node): the Shades cannot put their light out. The intact halls hold air and
Earth gravity; the eaten wing is a void, and eaten cells (
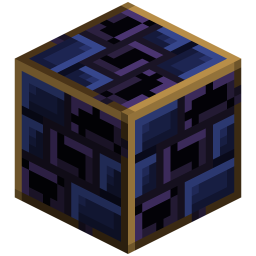 Eaten Cells) creep from the wound along the walls,
where the lamps have gone out. The Archive lamps go out near Shades of Hunger — press them to light them again: the flash burns
the shades.
Every hall is different: a nave under a stepped vault, a two-tier library of light records with a reading room below (an
ambush waits there), the low lupa corridor, the round mirror room, the arcade of lamps, the observatory with its bay. The way
to the sanctum takes three steps: in the mirror room turn the mirrors so the lens beam goes around the stone into the receiver
(the well opens); at the door of the rune gallery set a surviving swarm panel (Swarm Panel) into the socket;
walk the runes in the order of the signs on the wall — the way into the well opens, and spiral steps lead to the niche under
the dome. From the observatory bay you see the star itself — through the Eye, the opening in the middle of the shield.
A chest stands by the shoulder of the bay — a reward for whoever reached the Eye.
The halls are lit by amber the Shades cannot put out: sconces in the pilasters, belts around the column of the well, the reading-room lamp, paths in the floors of the keel and the observatory. The Archive lamps go out — press them to relight. As you climb to the niche, the Ringwrights’ watch rings rise beside it.
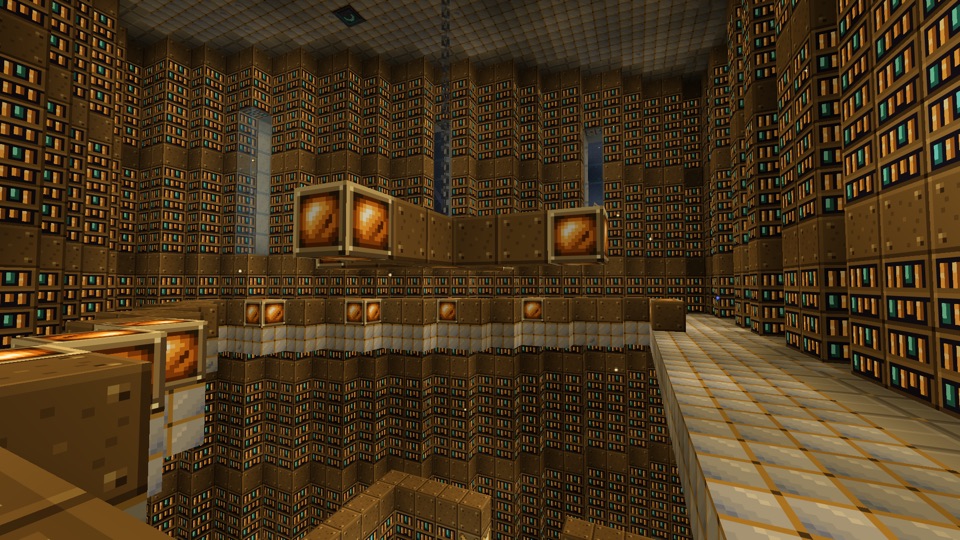
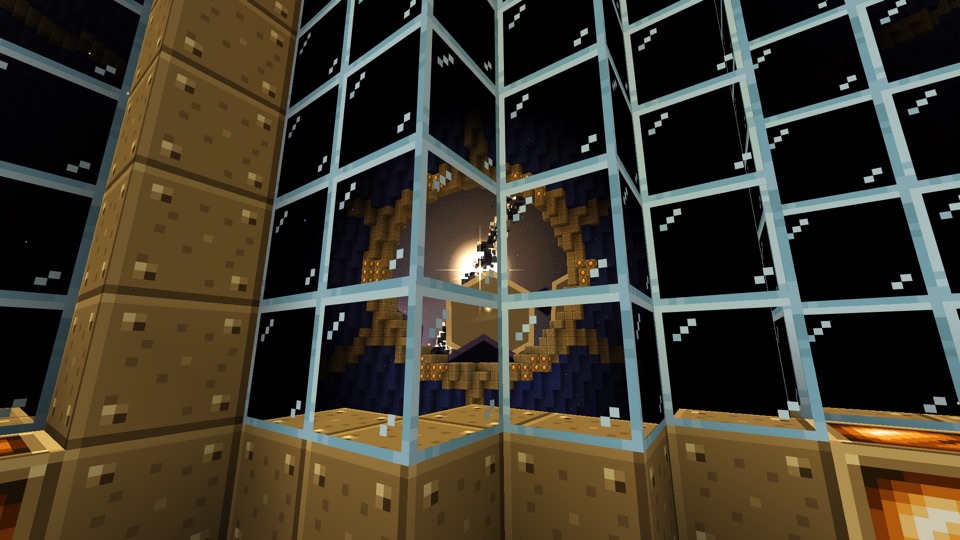
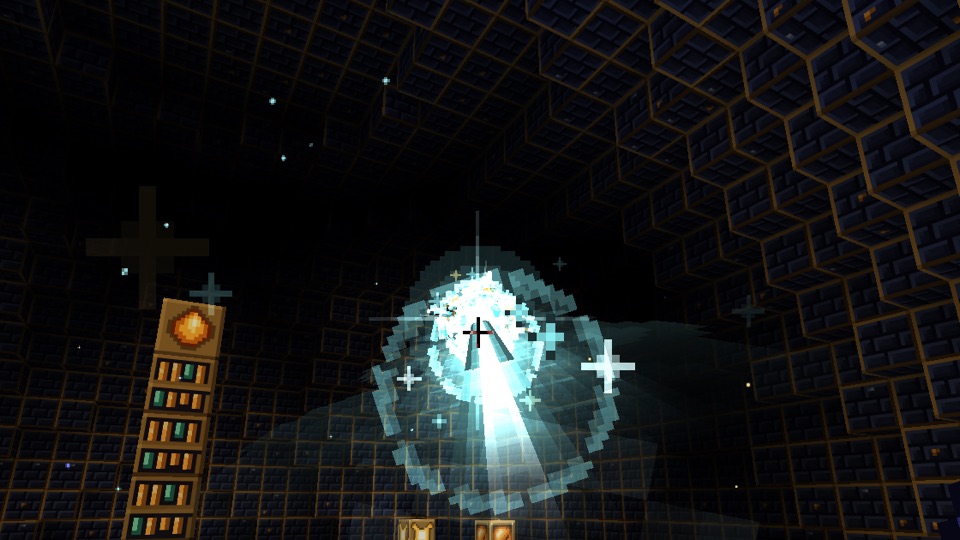
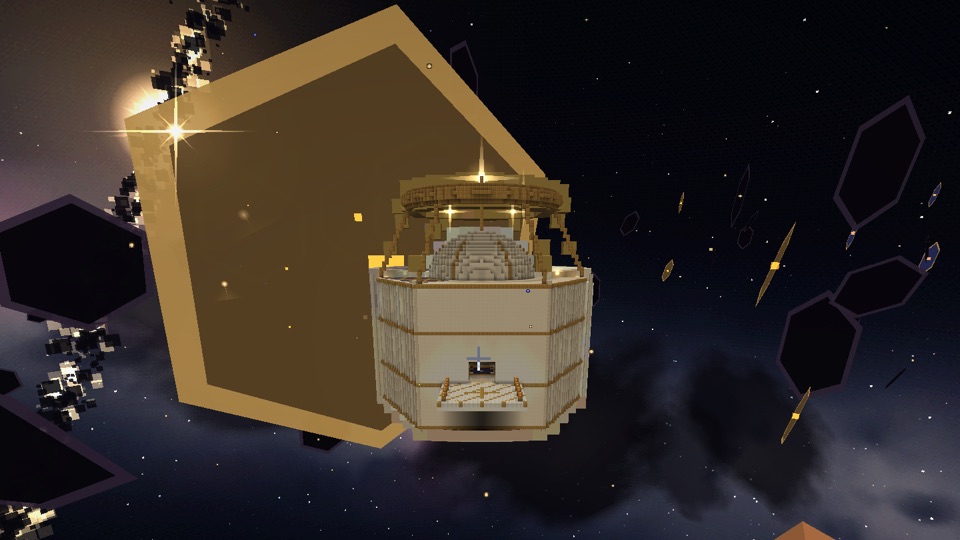
A fall in the Swarm without a ship is harmless: gravity 0.1 barely speeds you up, and you land softly on a panel. A lupa’s focus is not: it burns a player without a ship too — a second of fire takes more than half your health.
Vulpecula: the magnetar
A neutron star twelve kilometers across with a field of a hundred trillion gauss, 30,000 light-years away, a drive of the Quasar stage. Its record is radio: once in five days its bursts come in a series, and three bursts straightened with the dish on Vulpecula give the navigation record (see Radio telescope). You arrive 1,150 blocks from the star, outside its field.
- The sky: from inside a torn shell — pink and scarlet filaments across the whole sky, ripped out on one side; the Milky Way runs across it. The star beats with its spin, beams burn out of its poles, and loops of field lines carry running currents around it.
- The field, closer than 820 blocks, jams the scanner, the interstellar jump and the weapons of a ship without a Magnetic Shield — the instruments and a message say the field in gauss and what to do. To jump home, first fly out of the field (the emergency beacon always works). The field drags a player in iron armor and dropped iron to the star — go onto the fragments without iron.
- A starquake comes every two minutes: for ten seconds the star swells and the edges of the screen turn pink; a flare — and a wave runs across the whole place at 60 blocks a second. In the open it hits the hull and throws the ship; a fragment between you and the star takes three quarters of the blow. The instruments count down and show how far the wave is.
- The polar beams — narrow columns above and below the star — burn the hull; right at the star the field tears it.
The shell fragments hold veins of  Magnetar Scale Vein: a diamond pickaxe gets
 Magnetar Scale
out of them. The side of the fragments facing the star is fused into glowing glass (
 Fused Shell Glass), the rest is
slag (
 Shell Slag).
Scale and three radio logs of the magnetar are the observatory project Magnetic Shield
( Magnetic Shield, see Station Observatory): with it the scanner, the jump and the weapons work in
the magnetar’s field again.
What next
- Place records come from the instruments: “Radio telescope”, “The telescope and the sky”.
- What the substances of interstellar space are forged into — “Zero-G Forge and star gear”.
- The niche of the Swarm Archive and its guards — “Watch Rings and the Lens”.
- Where Drive III finally leads — “The Focus” (behind spoilers).